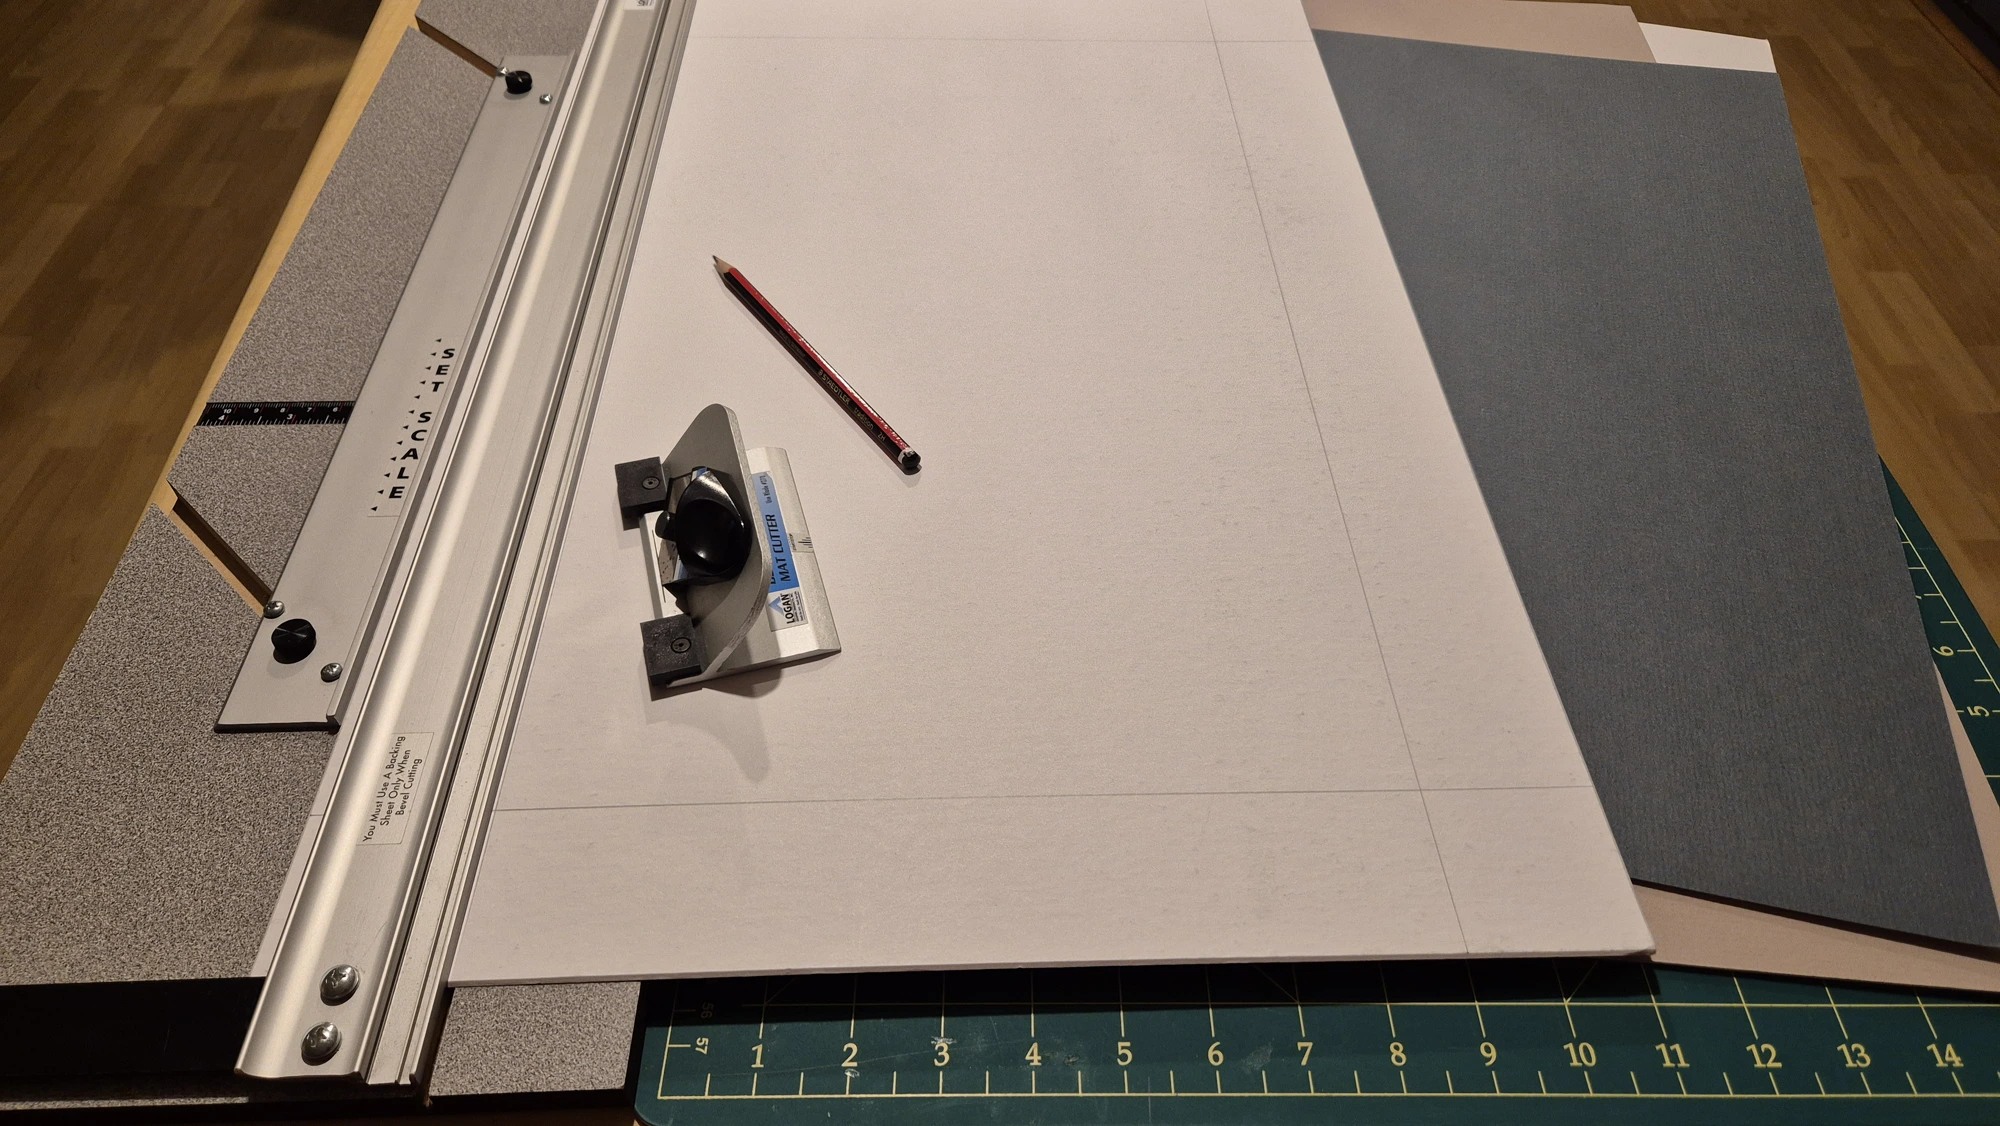
The mat has two sizes - get both right
Every mat you cut has an outer size and a window size, and beginners routinely mix them up. The outer size; the cut size, is cut to the frame's rebate opening so it fills the frame. The window is the hole you cut for the artwork to show through.
The window is intentionally a little smaller than the artwork so the mat overlaps and holds it — typically by 3 to 5 millimetres on each side.
Tip: If using a mat cutter with a rigid guide rail, be precise when making the outer cuts, or your window cuts will not be even. If you don't have guide rail cutter, mark your window from the centre outwards, not from the mat edges, so any errors in the outer cut doesn't throw your borders off-balance.
Give the artwork room to breathe
A common novice mistake is a mat border that's too narrow, which makes the artwork feel cramped and the frame heavy. As a guide, keep the mat border wider than the frame moulding - roughly 1.5 to 2 times its width - and lean generous rather than tight.
For prints and photographs, a mat border of 50-80 mm (2-3 inches) usually looks balanced; larger works and gallery pieces often use more.
Cutting double and triple mats
Layered mats add depth and a crisp accent line around the artwork. The trick is the reveal — the sliver of each lower mat that peeks out inside the top mat's window.
For each additional layer, the window is cut slightly larger so a consistent reveal of 5-8 mm shows. Keep reveals even on all sides unless you're deliberately weighting the bottom.
- Top mat: cut the window to your chosen border.
- Under mat: cut its window smaller by the reveal amount (which, somewhat confusingly, means a larger distance from the edge of the mat) so it shows inside the top window.
- Third mat: repeat, adding another reveal for a fine accent line.
Tip: When using multiple matboards, cut the outer of each slightly smaller than the one above, and double-sided tape it to the upper mat, so your reference edge is always the top mat. In this way, you ensure the under mats' reveal is even and exact for each side and layer.
Tools and technique for clean bevels
A bevel-cut window — where the cut edge angles back at 45° — is what makes a mat look professional. A dedicated mat cutter with a guide rail and depth-set blade produces repeatable bevels that a craft knife can't match.
Change blades often, cut on a proper cutting board, and keep your pressure even from start to finish.
Tip: Always cut a test window on scrap first when trying a new board thickness — it lets you set the blade depth so you cut through cleanly without scoring the board underneath.
Choosing the right board
Board thickness affects both the look and the depth of your build. Standard 4-ply suits most work; thicker 6- or 8-ply boards give a bold, museum-style bevel but eat into your rebate depth.
For anything you want to last, choose acid-free or conservation board so it won't yellow the artwork over time.